The submitter is set up with the most basic options toolset has to offer. This set up is not appropriate for highly complex submissions or for situations where a class needs to submit more than one assignment.
Almost everything you’ll need can be found on the Toolset Dashboard on the “Posts” row. The toggles below will cover each section of the Posts row on the Toolset Dashboard as well as a few extra items you might need.
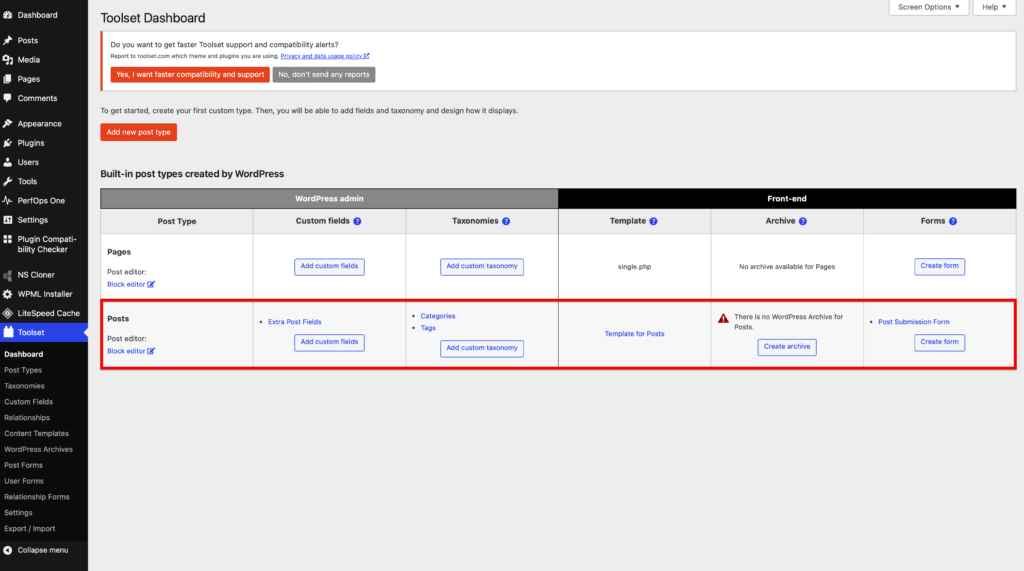
The first thing you’ll want to set up are the Custom Fields. These are the additional fields that you might want to add to the default blog post. Consider whether students need a guided list of fields or if they can put most/all of their content in one field. If everything can be contained in one field, you won’t need to make custom fields because posts already have a body field, title, and a featured image field built in.
Note: When planning your fields, keep in mind that the featured image is highly recommended to include so the gallery of posts looks more eye catching.
To begin editing the fields, I have already set up a field group on the Toolset Dashboard called “Extra Post Fields.” Click this link to edit the fields instead of the “Add custom fields” button.
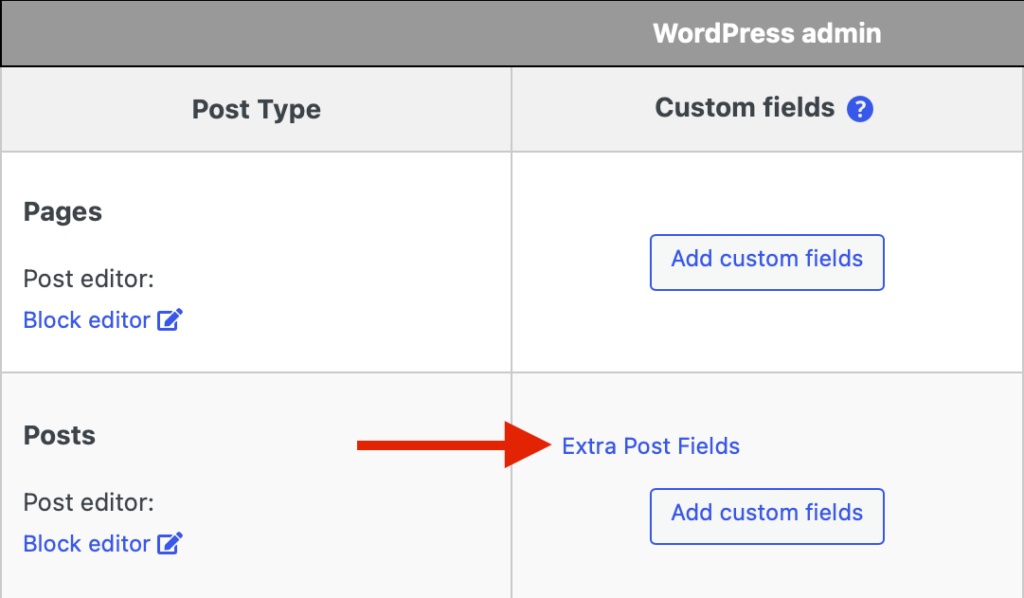
I have placed some sample fields in the group already. You can delete what you don’t need by opening the field toggles and clicking the “Remove Field” button at the bottom of the toggle panel. If you need more or different fields, click the “Add New Field” button on the bottom of the page. A pop up of field options will appear and you can select what you need.
Some notes on the commonly used field options
Video
This field allows for video uploads, but I wouldn’t recommend using it if it can be helped since videos take up a lot of server space. Instead, if users upload to Kaltura, they can post the oembed link of their video in the default post body field and WordPress will convert the link into an embedded video. Note that this only works in the default body field. The custom WYSIWYG field will not do the same conversion.
Audio
This is a file uploader field that only takes audio files. I haven’t found any notable issues with the audio field to document here.
File
For any other file types you can use the file field. TRUbox takes a wide range of file types, if you’re expecting a specific file type and it’s not common, test that TRUbox will accept it by doing a test upload to the media gallery.
If more than one file is being uploaded, create a new field each time if possible. There is an option to make the field repeatable but if you do that, you will have less control over the final presentation of the file link in the post template.
Also note that pdf uploads cannot be embedded. This has come up a lot. The PDF embedder plugin does not work together with Toolset. With file uploads, we can usually only link to the file that has been uploaded.
Finally, file uploads are easily a fail point for student submissions as Wordfence blocks suspicious uploads.
Image
Use this field when you need an additional image. If you only have a featured image planned you can skip this field.
WYSIWYG
This field it will allow you to add simple formatting like bold and italics, but despite what it says, you cannot use this field to embed images and files within the text unless you are a logged in user of the site which tends not to be the case with most class submission tools. Instead, these extra images or files should use the dedicated fields mentioned above.
Single line
For brief content like the student’s name etc.
You can add more taxonomies, but that is often considered a more advanced setting that I haven’t encountered often so I won’t go into detail about this one beyond saying if you need more options to categorize and tag submissions this is where you would do it.
By default, tags and categories are in use since I have tied the toolset submission to the site’s posts. If your project doesn’t need these, you can turn them off on the theme level and remove their fields from the submission form.
While at the end of the list, I recommend editing this before setting up the template, so you can make a few posts to test with the template. When you click this link, you’ll go to a page with the following sections that you’ll want to edit. Adjust as necessary then hit save.
Settings box
Set up what happens when a student submits. You’ll either want the post to be published or set to draft for moderation.
Update the submission message as necessary.
The other options in this section are not usually necessary to change.
Form editor
You can drag and drop the fields in whatever order works best. Any new custom fields you’ve added earlier in the process will be found on the right, just drag them onto the editing area. Delete whatever you don’t need.
I recommend leaving expert mode off while you are learning because you can’t go back to simple mode without losing everything after.
Email notifications
If the instructor wants to be emailed when a student submits a post for moderation you can use this set up box.
The template is the layout of the post once it’s been submitted. When making edits to this it’s best to have some dummy posts on the site so you can see how it’s displaying the data as you do the layout. You can change which of your dummy posts it displays on the template editing screen by clicking the dropdown at the top of the page.

Since the template is using the WordPress post type as a base for its appearance, you wont need to handle the placement of the title or the taxonomies.
The rest of the fields including the default body field will need to be added manually. Toolset has various blocks you can use for each custom field you have made.
Below is a brief summary on using the templates and the blocks for various field types, but if you want a deeper dive I recommend the Toolset documentation for this. The link discusses this in the context of a custom post type, but the concepts work the same when editing the default post type’s template as well
How to handle displaying each field
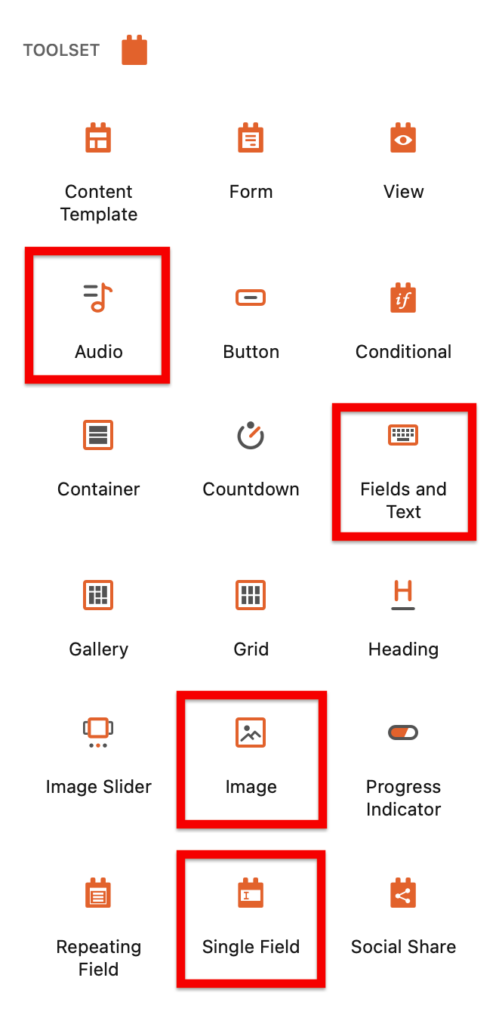
When displaying the fields, you will likely use one of the following blocks:
Body Field
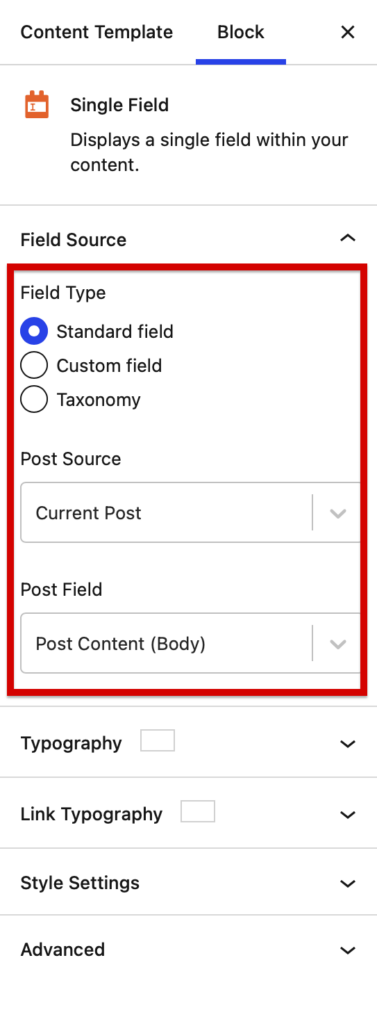
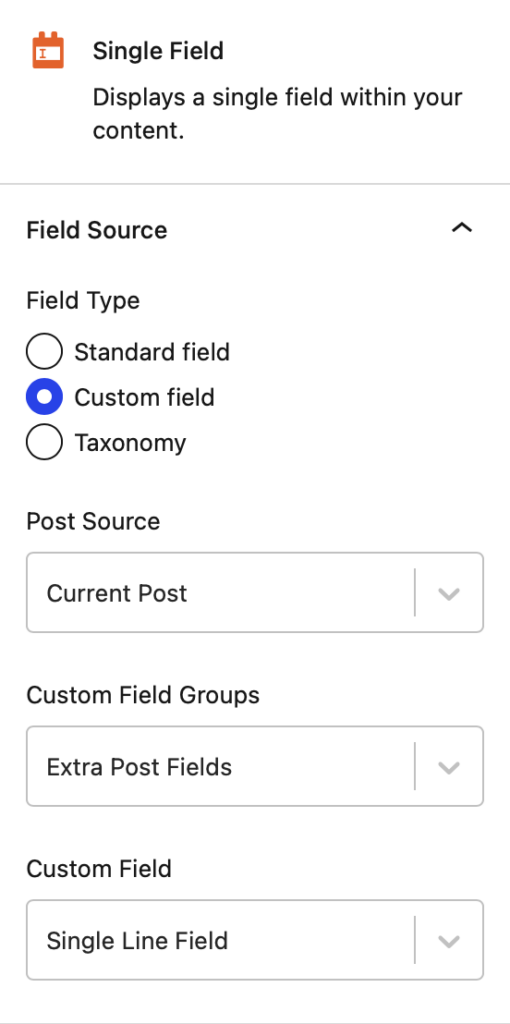
While the body field is a default field, Toolset allows you to place it wherever you want on the page so you have more control over field ordering. To add the body field use the “Single Field” block with the following settings:
Video
As mentioned in the custom fields section, videos should be added to the body field with an oembed link. See the previous “Body Field” section for how to add.
Audio
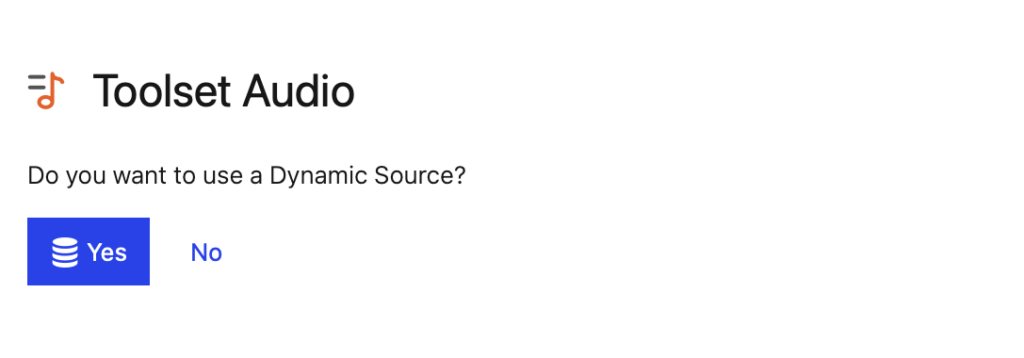
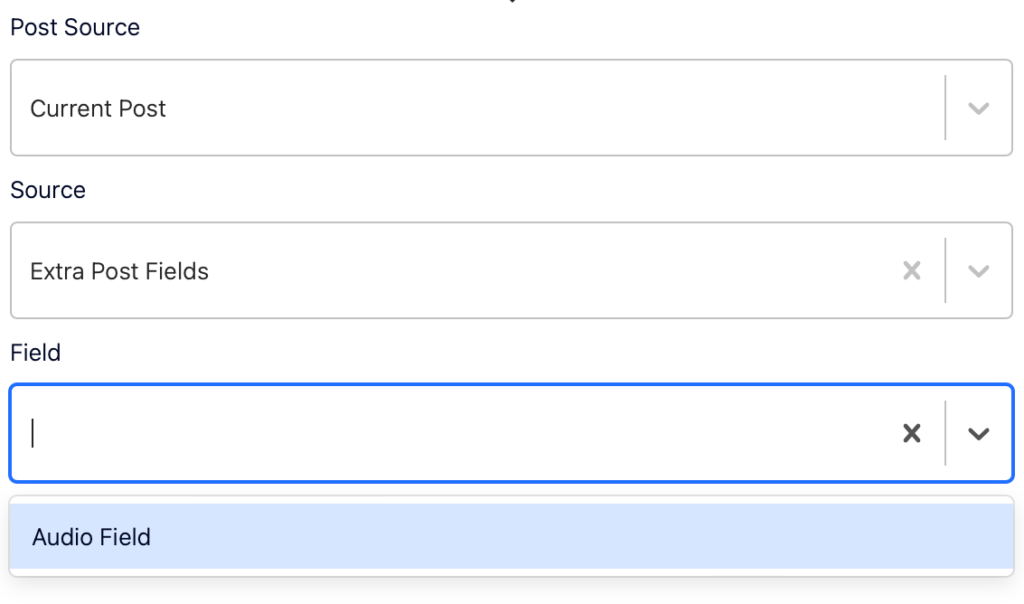
Audio uploads can be handled with the audio block. When added it will ask you if you want to use a dynamic source. Click yes and a few more settings will appear on the screen. Select the Post Source as the Current Post, the Source as the field group the custom field you are targeting is in (Probably Extra Post Fields since that’s the one I’ve set up for the submitter), and choose the field name for the Field drop down. Now the audio upload should be added as a playable item.
File
Files are a bit more complicated and will need a small amount of html. You will need to use the “Fields and text block” and do the following steps:
- Add the Fields and Text block and switch the editing mode to html
- In the html editing area, type in the following html code (you can change the words to say whatever you want, I just chose file upload to be straight to the point)

- Put the cursor between the two quotation marks and click on the plug icon with an eye on it.
- There will be a pop up of options to select, under the Extra Post Fields heading select the name of the field that you used for file uploads.
- On the next pop up, choose the radio button that says “Raw file URL” and then click the insert shortcode button.
- Your file should now be links and your Fields and Text block should look something like this.

Image
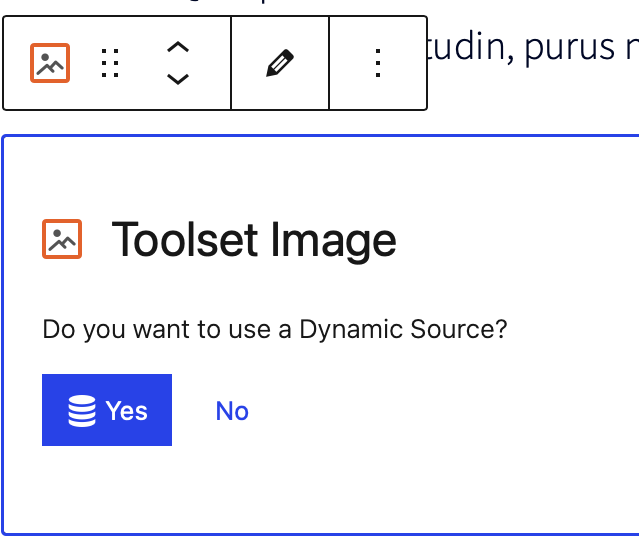
Additional images should be handled with the image block. I have the toolset submitter set to handle the featured image on the theme level but if you wanted to customize its placement on the template you would also use the image block to access it as well. Similar to how the audio block was used above, once you add the block to the page it will ask you if you want the item to be dynamic, select yes and then select it’s source with the drop downs provided accordingly.
WYSIWYG, Single Line, Select, Checkbox, or Radio
All of these can use the Single Field. Note the similarity to the Body field only this time we’re pulling from the custom fields the way we did with the audio and image blocks.
Conditionals
Under the toolset block options you may have noticed the “Conditional” block. This is a bit more advanced, but for completion sake since it has come up a few times, you might need to use the Conditional block to hide certain fields under certain conditions.
One example of this being needed is if you’ve made a custom output with the “Fields and Text” block and want to hide that content if the user didn’t fill that section out in a form.
The toolset primary documentation has a clear example video of how to use this block and a few more examples of when you might want to use it:
Much like the taxonomies section, it’s not common for a simple build to need to handle this section. I currently have the tool set to use the default post archives set up. If it comes up that custom archives become more common I will fill out this section.
Homepage
Header
You can completely change the header and theme, use what’s already there, or if you want to slightly adjust it, you can use one of the following free vector sites to swap out the image to something closer to the context of the project. I’d recommend changing the search color to #00b0b9 so the images you download match the them a bit more.
The header is currently set up with 2 columns that conditionally display the header image in different ways depending on whether you are viewing the page on mobile or desktop. If you change the image, remember to change BOTH instances on the editing page.
Gallery section
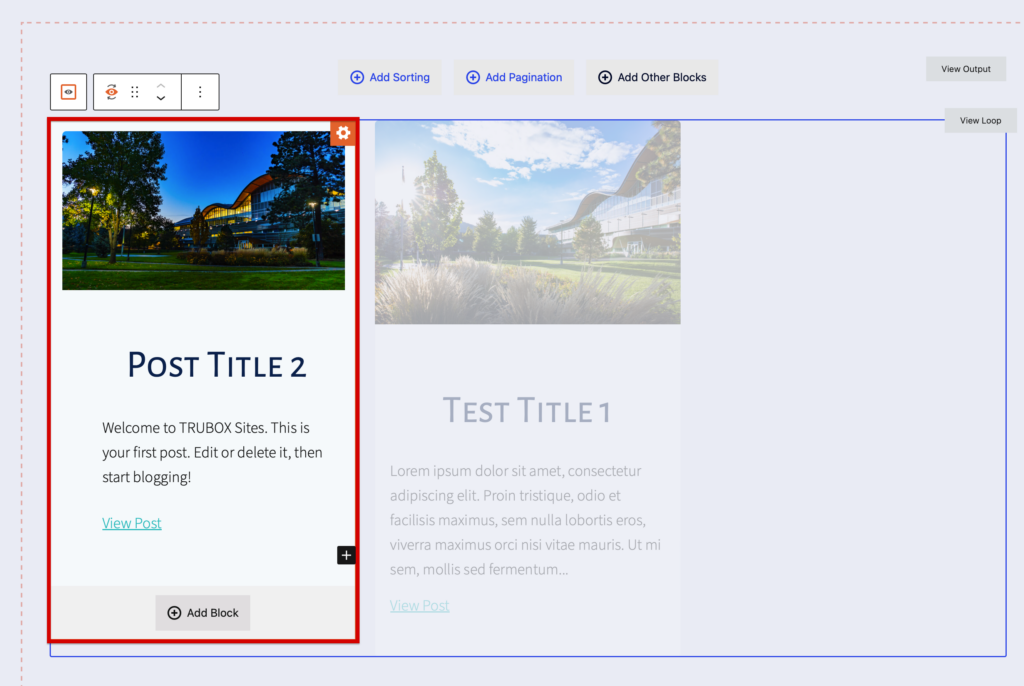
The gallery at the bottom of the page can use the same blocks that the individual post template uses. I presently have it using a featured image, a heading for the title, an excerpt of the body text, and a fields and text link to the post. If you need other items to display, see the template section for how to use the blocks. You edit the handling of all of the posts in the grid by editing the top left sample post within the view block.
Submission Page
The submission page only has a form block at the moment. Add a paragraph block to describe the form if needed, and consider password protecting the page if you want to ensure only students with the password are able to add submissions